
No products in the cart.
Blog
How to Make a Christmas Money Tree (Step by Step!)

11
Mar
Mar
This post might include affiliate links, so we could receive a commission if you decide to purchase something through them. Additionally, as an Amazon Associate, we make a profit from purchases that qualify. For additional information, please refer to our Privacy Policy and Disclosure.
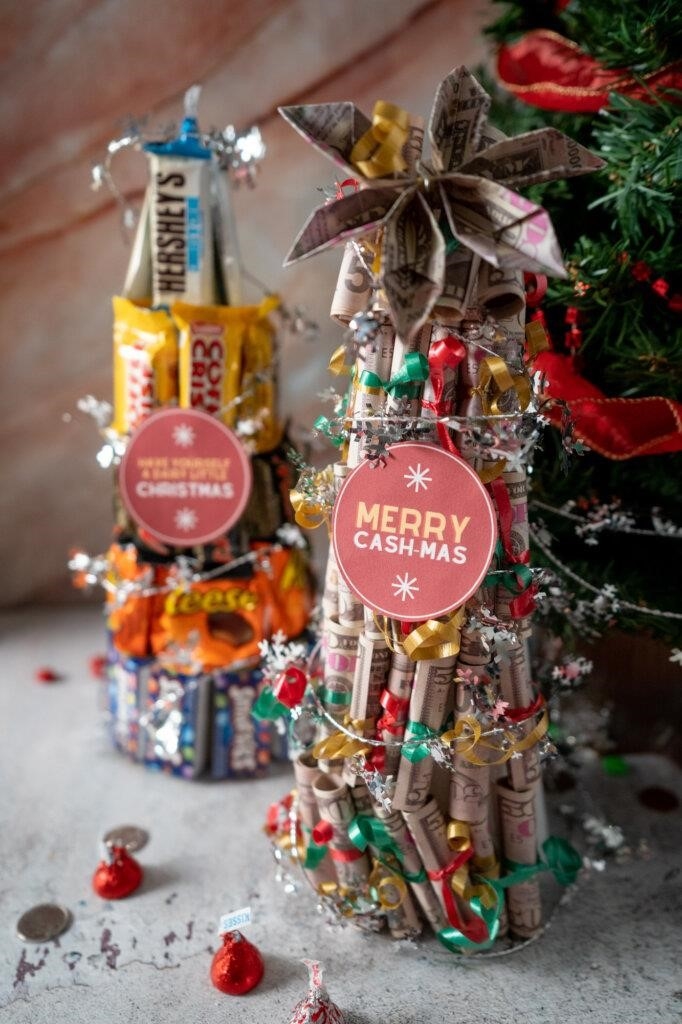
If you’re looking for a charming and special way to give money as a present, Christmas Money Trees are an excellent option.
This project doesn’t take long to complete, and the end result is truly amazing – it’s the best!

In this tutorial, we will demonstrate step-by-step how to craft an incredibly beautiful and easy present that will surely be well-received by everyone on your gift list this holiday season.
We hope you find it helpful!
Pin for later:


Christmas money tree materials.
For this straightforward self-made cash-themed Christmas present, all that is required is:
Related link:
https://noithatxinh.Net.Vn/wp-admin/profile.Php
https://docs.Google.Com/spreadsheets/d/1zDvAAKMMg_BEd9avD09zMFGk7iVplXK9Y5k8rF9drDo/edit#gid=1495783700

Step-by-step guide on making a Christmas money tree.
Do you have everything ready? Let’s begin…
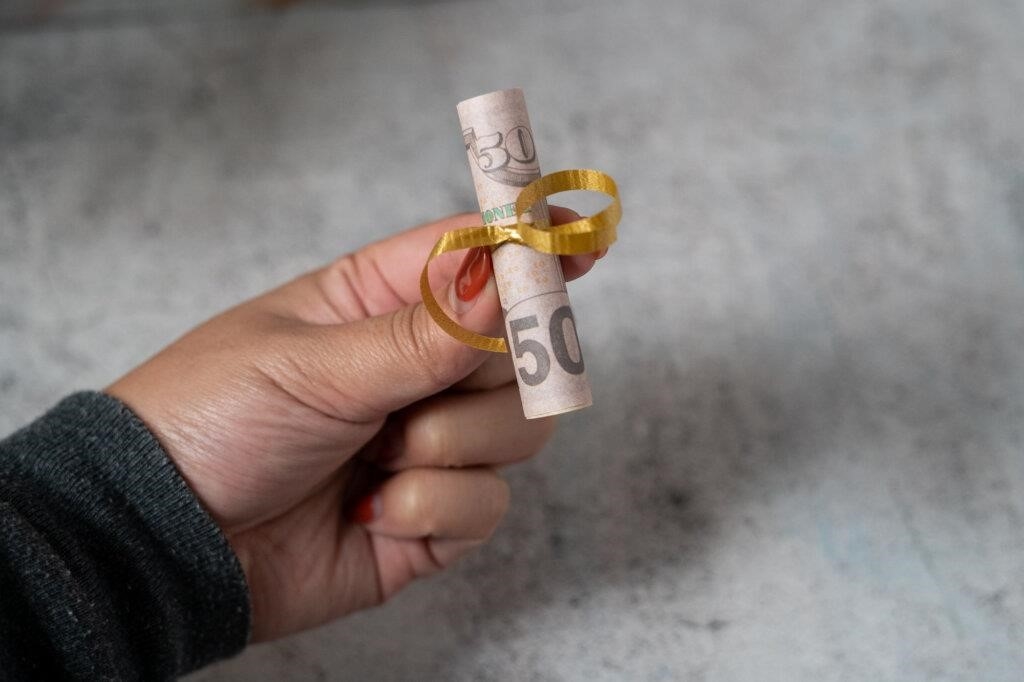
Rolling up your bills: Step
We need to begin by transforming our dollar bills into miniature money scrolls. How adorable!
Begin by placing your bill on a level area such as a table and then roll it forward.
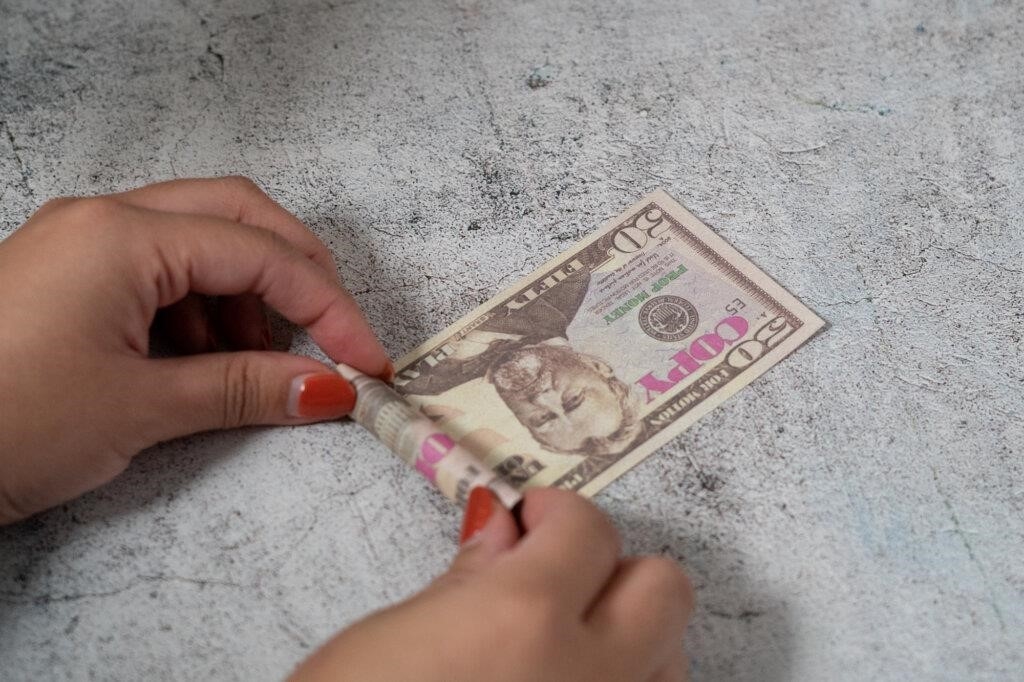

Once you reach the conclusion, secure the scroll shape by wrapping it with a bit of curling ribbon.

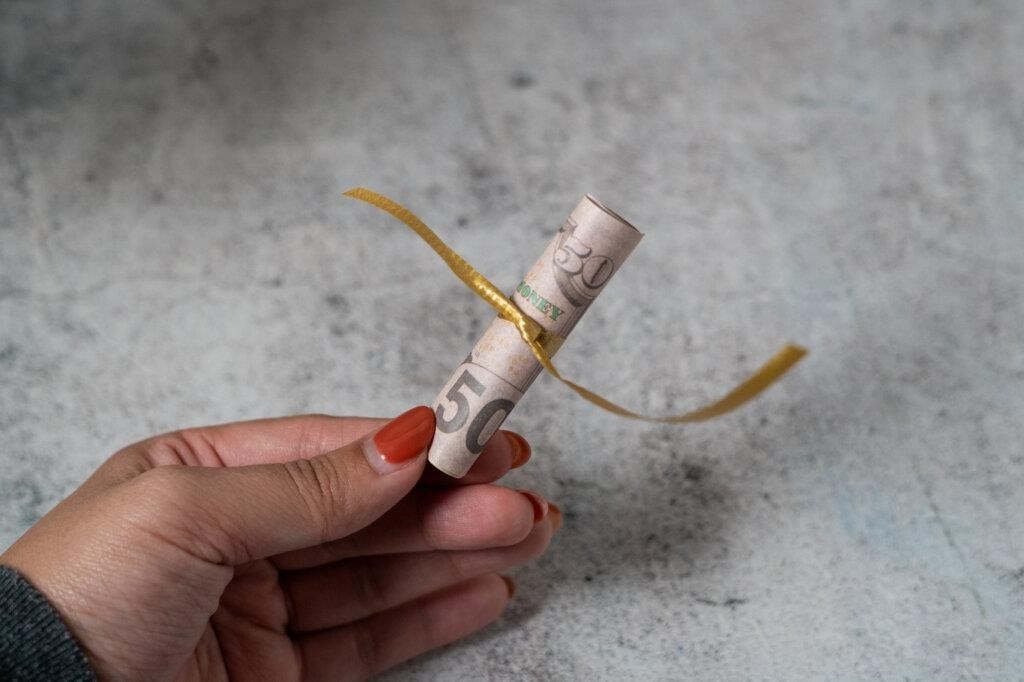
Then, curl the ends of your bills and do this for each one!
For this project, utilize colors related to Christmas, such as red, green, and gold, when tying your cash scrolls with curling ribbons. This will give your finished product an extra dimension.

Attaching your cash to the cone: Step Two
Gather your bills and roll them up into scrolls, then affix them to the cone.
We can easily accomplish this task by employing a tiny greening pin. Simply secure the greening pin around the ribbon of the cash scroll, as shown below:

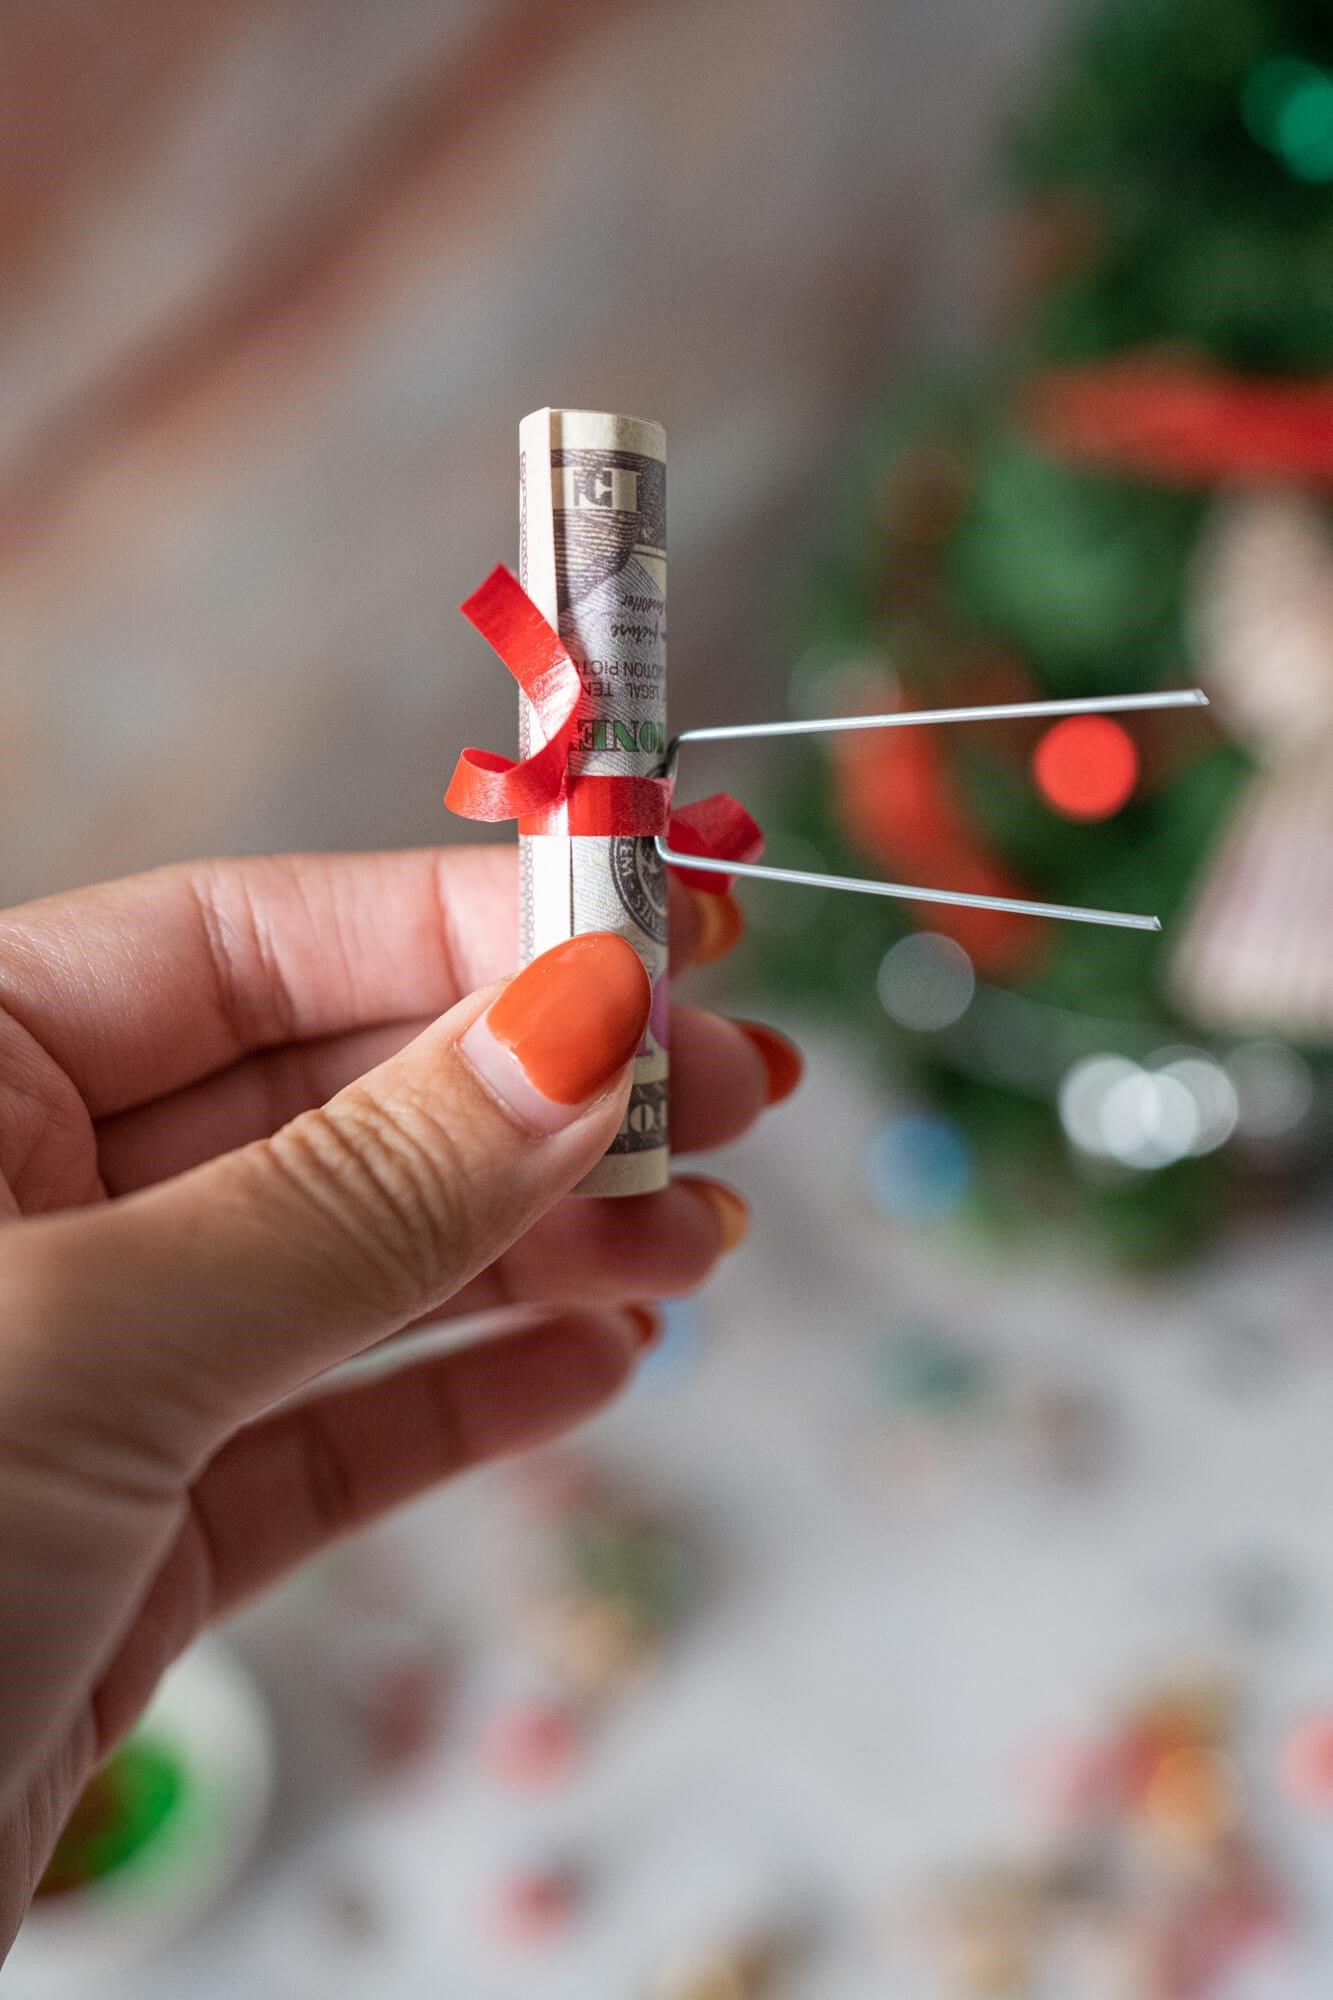
Begin at the bottom and insert the pin so that it is invisible from the outside. This will secure the scroll to the cone.

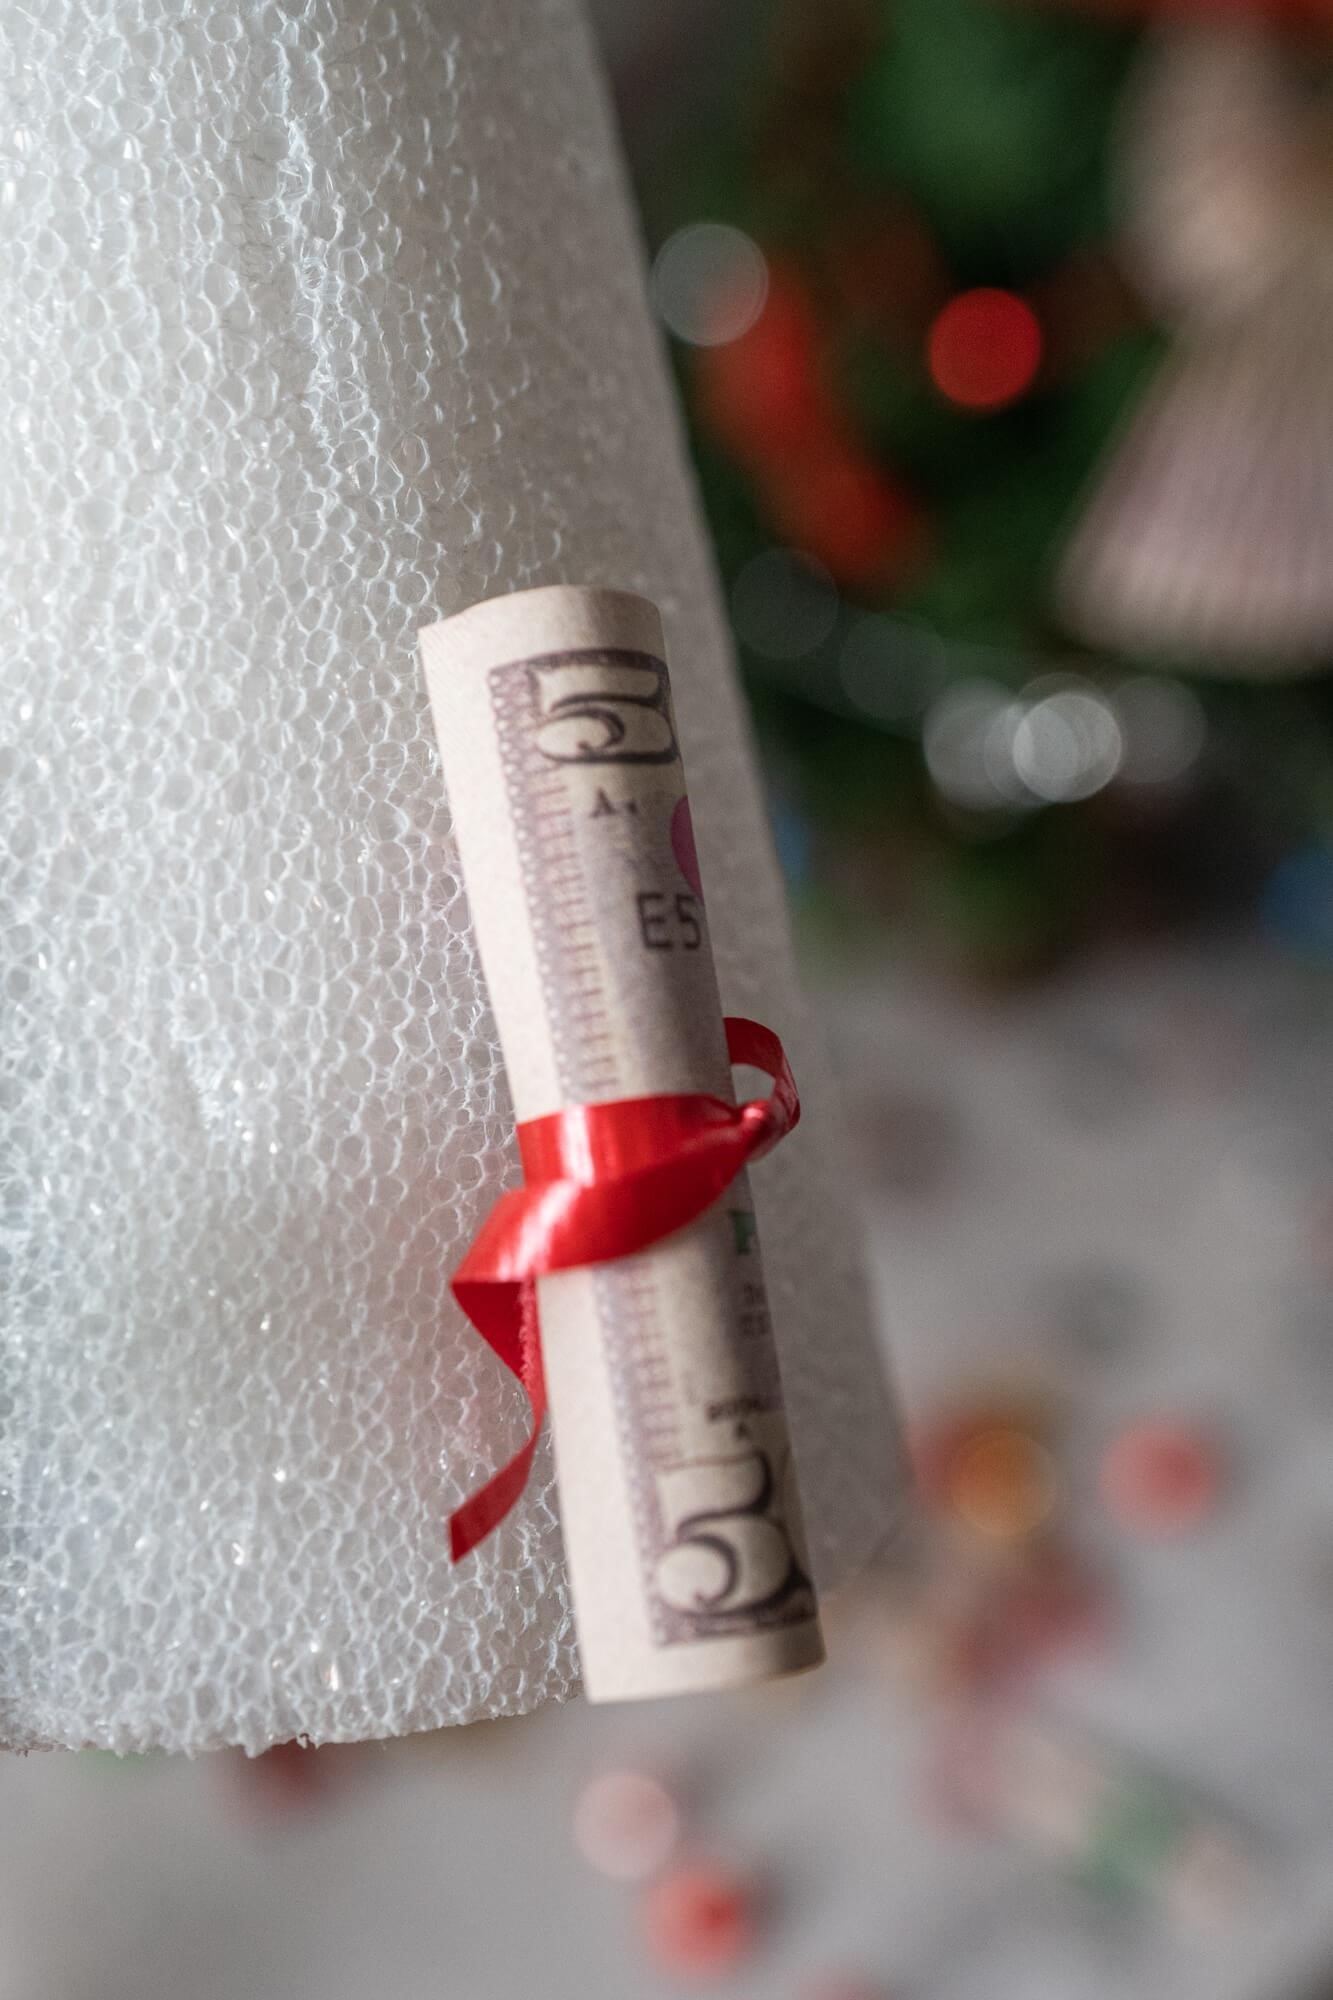
Continue this procedure, advancing line by line until you reach the apex and the whole cone is adorned with your money scrolls.
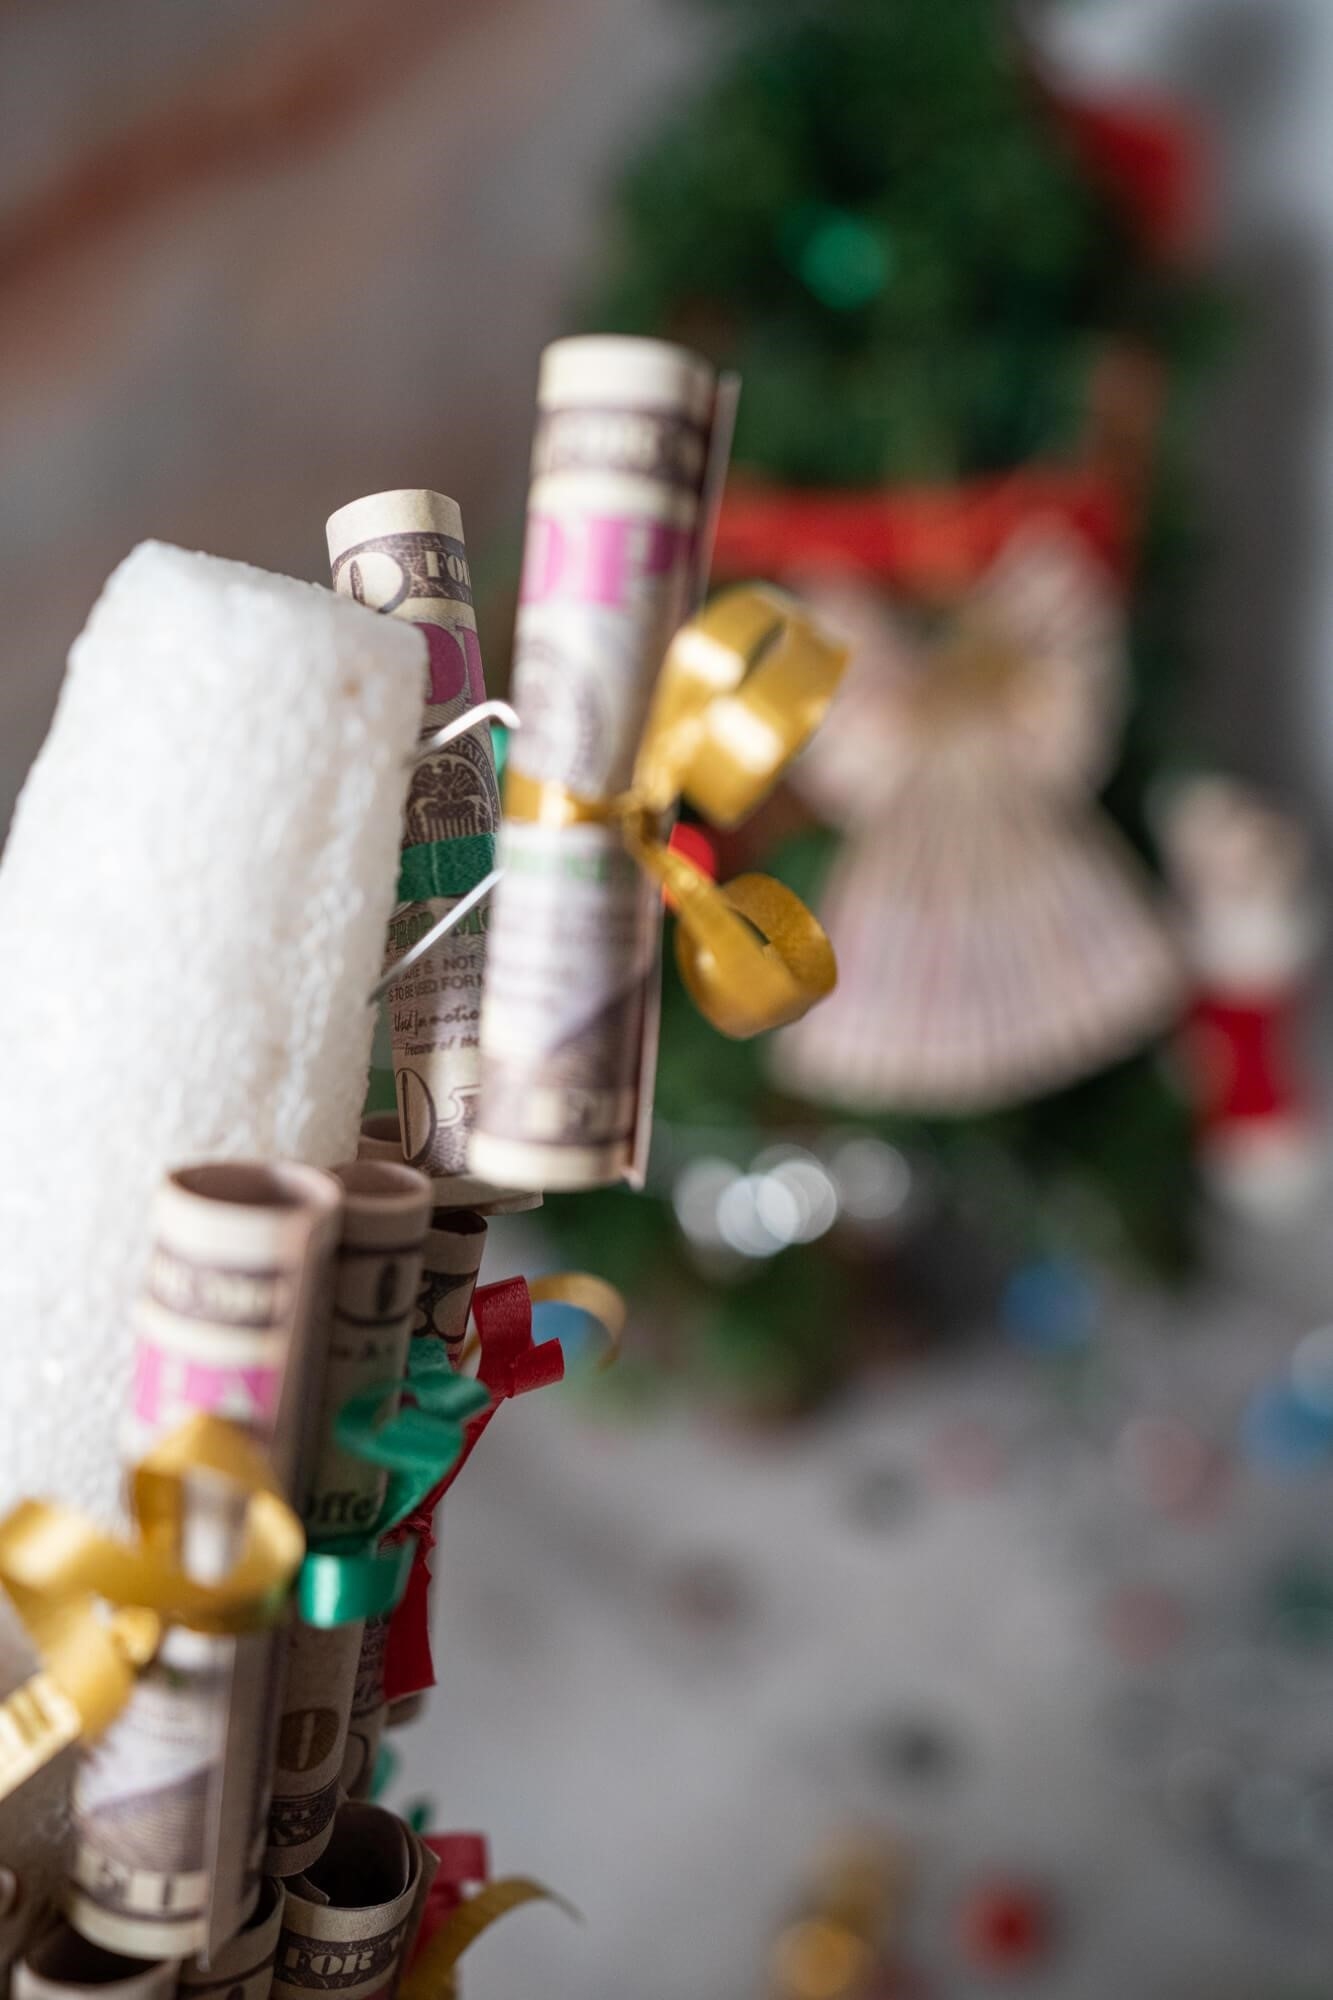

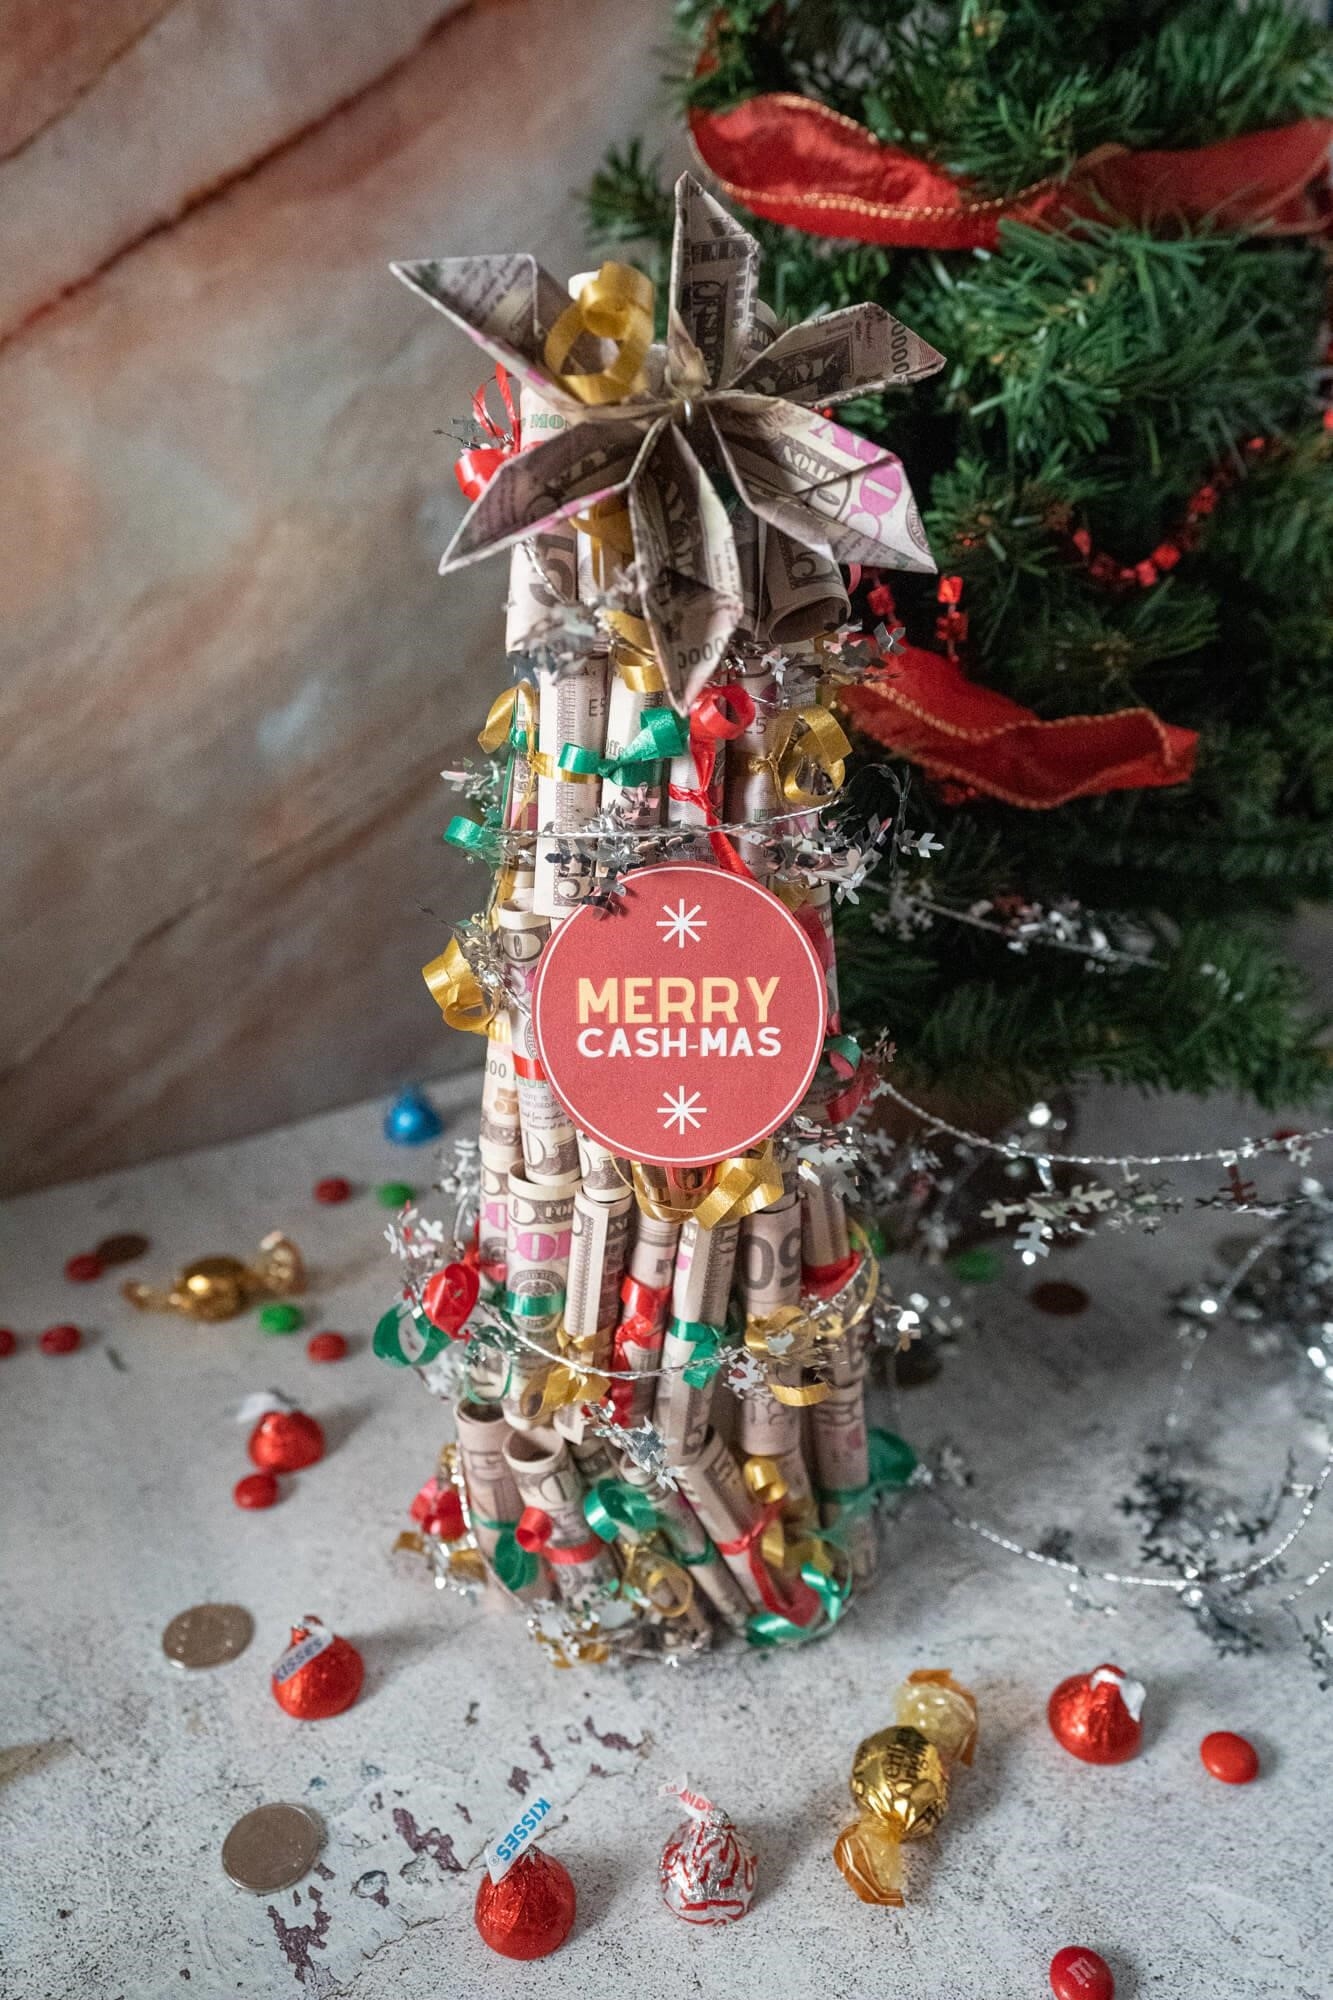
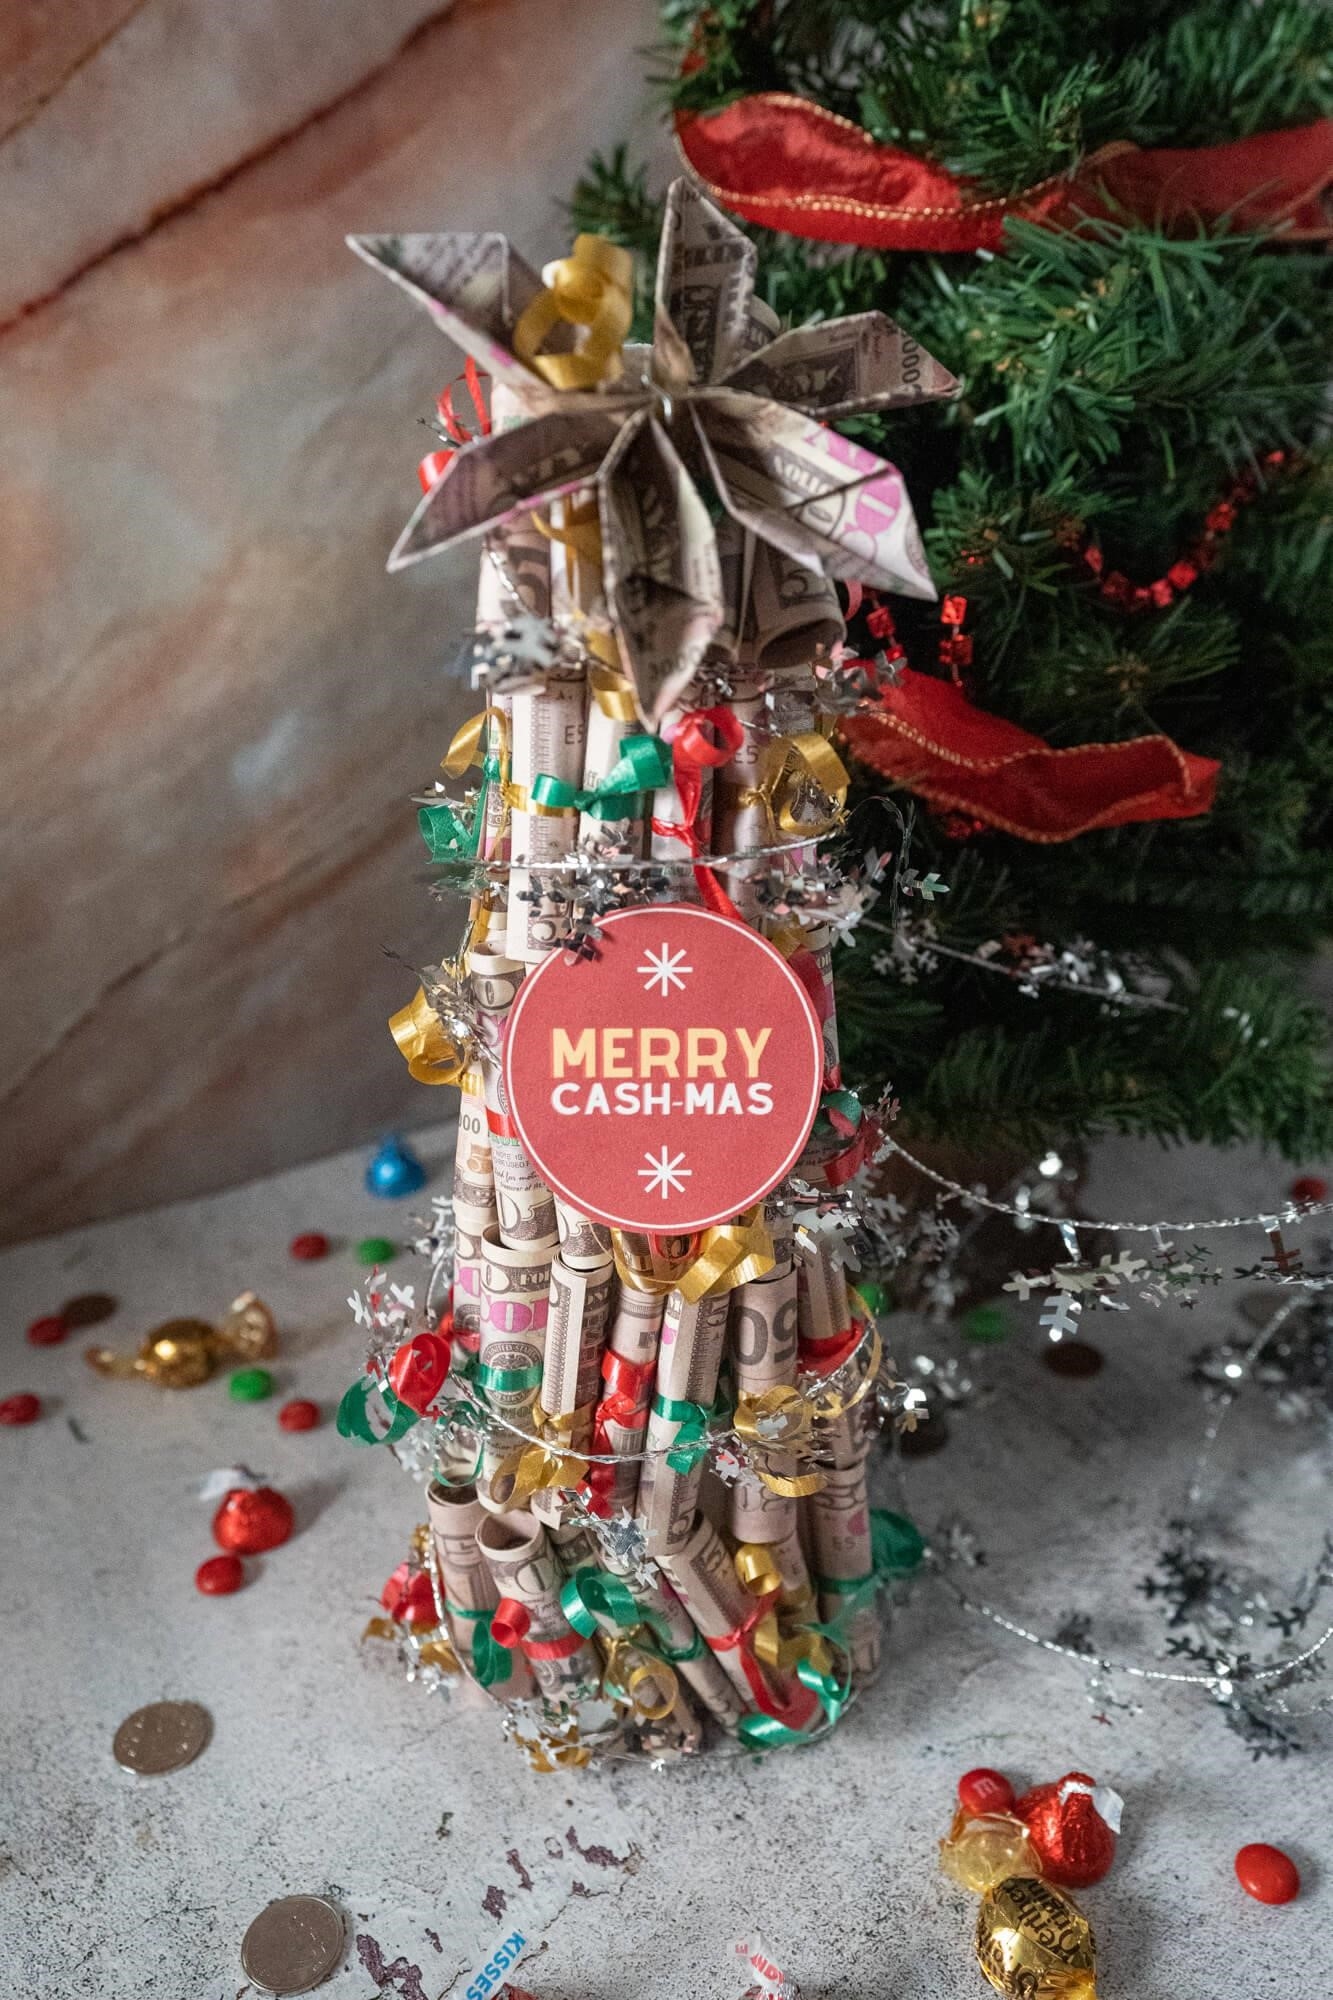
Adding the final touches: Step
After you have completed the decoration of your Christmas cash tree, the last step is to make the finishing touches.
We put a nice money flower on the top of the tree, following a tutorial (except with three bills for more volume).
We also included a humorous comment (which you can obtain for free from this link ), as well as some bright silver tinsel to make it look extra festive for the holidays.
Once you have applied the final elements, you are finished!

Enjoy this tutorial on creating a Christmas money tree!
Let us know in the comments if you have any queries, or show us a picture of what you have made!